

IKEA Billy Bookcase Hack Part 1 & 2: The Concept & Prep
You might not know this about me, but I'm a DIYer at heart. I see something at the store or a reel someone posted and say to myself "I can do that!" Sometimes I'm right, sometimes I fail horribly. BUT, I'm pretty good with power tools and I watch a lot of YouTube tutorials, so my track record is getting better and better. I love improving my home, and ever since getting back into reading, I've had my eye on those IKEA Billy Bookcase Hacks to make them look like built-ins. AND I'M FINALLY DOING IT!!
I'll be posting video updates over on the Insta channel, but I'm going to do my best to update the blog too, with step-by-step details.
IKEA Billy Bookcase Hack
Part 1: The Concept
I've been saving reels and finding online blog posts from other DIYers for this IKEA Billy Bookcase Hack for at least a year. There are SO many amazing builds that are super inspiring—I took ideas from a few different places. Like this one, and this one and this one!
I knew I had enough room to spread 4 IKEA billy bookcases across the wall, and that I wanted to make arches for the top, to add some custom detail. My original plan was to buy 3 battery operated sconces to place in between the bookcases like in that last inspiration link, but my wonderful fellow-DIYer brother who also happens to live next door was kind enough to trade his electrical skills for a custom book bind for a friend (win-win!). And somewhere along the way I also decided to make one side of the built-in a hidden broom closet. AND we also decided in the middle of the project to extend the built-in all the way to the left and integrate the stair railing. Needless to say, this project scaled and evolved several times over and the final result is going to be way cooler than I first imagined!
Here is the wall in our dining room where I'm building the bookcase built-ins (that's my dog, Emma...she's the worst helper around):

Here is the original sketch / plan that I was working from:

Part 2: The Prep
Prepping is the most important part of just about any project. For this one, I just needed a clean wall so that I could install the base frame that the billy bookcases would sit on.
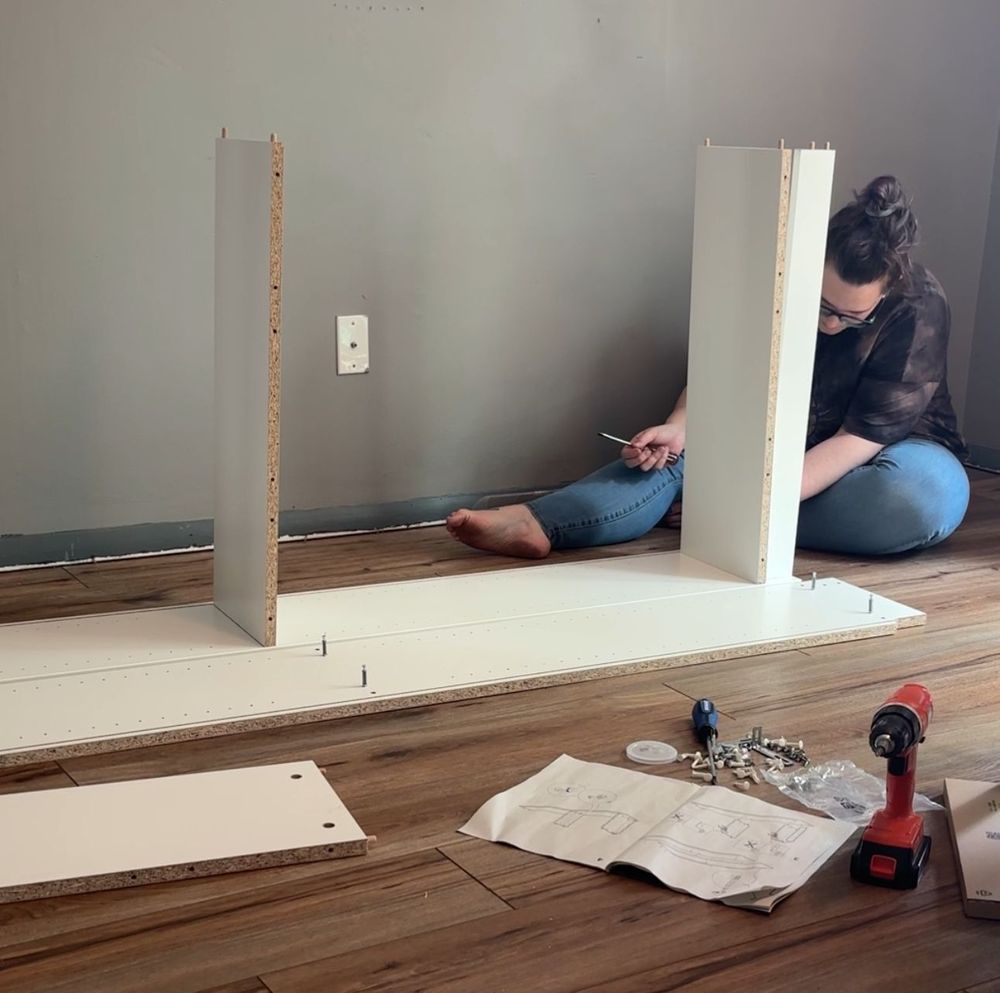
Building the IKEA Billy Bookcases
But let's be honest—who wants prep to be the very first thing?? Not me. I wanted a glimpse of how awesome this was going to be so I built all the bookcases first. By the end I was a pro. Building all of them by myself took about an hour, maybe a little longer with starts and stops here and there to help the kiddos with whatever they needed at the time (probably chocolate milk, amirite?).
|
|
|


Once I had the shelves built, it was time to clean up the wall to get ready for the base frame. Adding a little height to the bookcases worked best for my 8-foot ceilings. Without a base, technically I could have fit the billy bookcase extenders on top, but that would have added to the overall cost and ultimately I didn't really need them because the top of the bookcase is still going to be used as a shelf. So rather than relying on the extenders, I just created my own framing up there and it turned out fine.
To prep the wall I had to:
- Take off the baseboard (with quite a bit of effort, I might add)
- Use my oscillating multi-tool to cut out the section of baseboard I needed removed from the perpendicular wall
- Remove my corner shelves
- Take down the mirror
|
|
|
|


Next up, it's base frame time!

My ceilings are 8' tall, so 96". The IKEA Billy Bookcases are 79.5" tall. So, to give them a little extra height, I built a base frame out of 2x4s. It's super easy—you're basically making a rectangle. It's possible to do it by yourself if you have the right size clamps, but it's definitely helpful to have an extra pair of hands to hold things together. Enter: my brother Tom.
The floor vent in the middle of the space made this step a little interesting. I knew I would need to extend the vent and ended up getting a long plastic vent extender on Amazon. I did a lot of research and weighed the pros and cons of buying an actual toekick vent extender kit, which has actual HVAC components and that flexible tubing you use for your dryer vent. But for this build that felt like overkill. Plus that kit was over $100, and the one I bought was about $20.
So, we measured for two separate frames and put the vent extender in between. I don't know if there was magical saw dust in the air or what, but it was a perfect fit the FIRST time! That never happens.
Once everything was in place we made sure we didn't feel any big air leaks and called it a day!...that is until we realized we forgot to drill the holes for the electrical wire. So back out to the garage we went to drill those in. It didn't really matter where they were placed as long as it was close enough to the outlet we planned to split. At this point I had changed my mind from wired sconces to LED strip lighting that I can control with my phone. I figured that had way more options long term and could end up looking super fun for holidays and parties.
Anyways, drilling those holes in didn't take long and we were back in business. Here's a photo of everything in place:

That about wraps up the Part 1! Stay tuned for the rest of the IKEA Billy Bookcase Hack build...and follow @shelfcaremomsclub to see all the video updates.
XOXO,
Em
