

IKEA Billy Bookcase Hack Part 3: Electrical
I am so behind on writing these blog posts, but welcome back to our Billy Bookcase built-in project! If you’ve been following along, you know I already tackled the concept and prep Part 1 & 2. Now it’s time for Part 3: Electrical, because what’s a custom bookshelf wall without a few outlets and some mood lighting?
Rethinking Lighting Plans
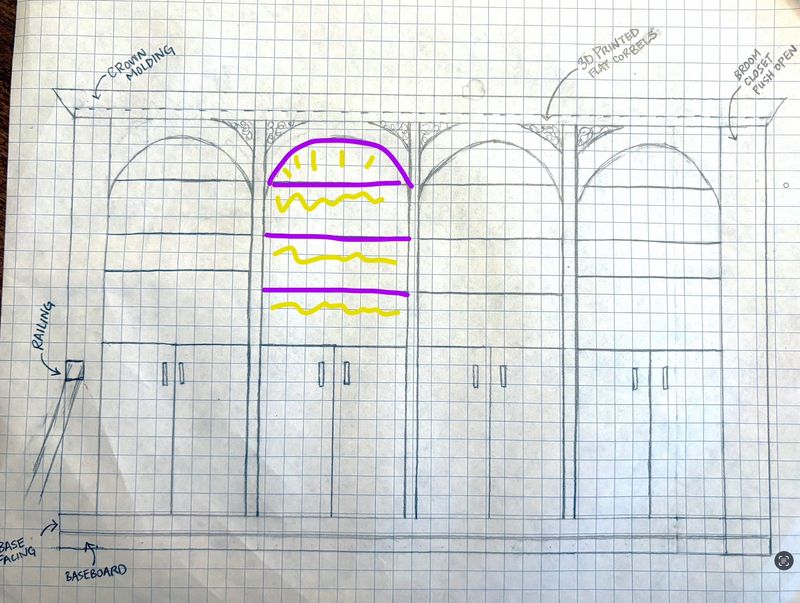
The plan started simple: add hard-wired outlets directly into the shelves themselves. I even had visions of three sconces the outer edges of the build, nestled between the bookcases. But then… an accidental trip down the LED strip aisle at Lowe’s happened, and suddenly my brain had other ideas.
The new plan? Smart LED strips across all the open shelves, controlled by an app on my phone. Fancy, yes. Slightly overambitious? Maybe. Worth it? Absolutely.
Powering the Shelves
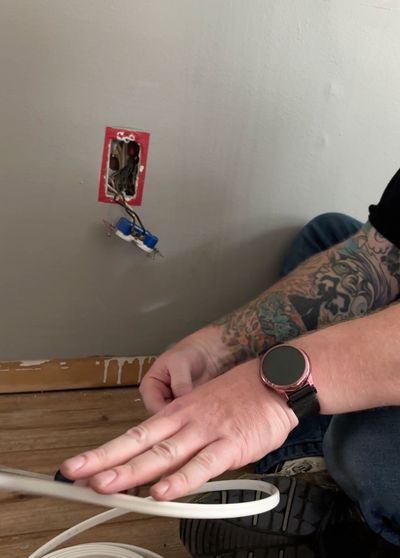
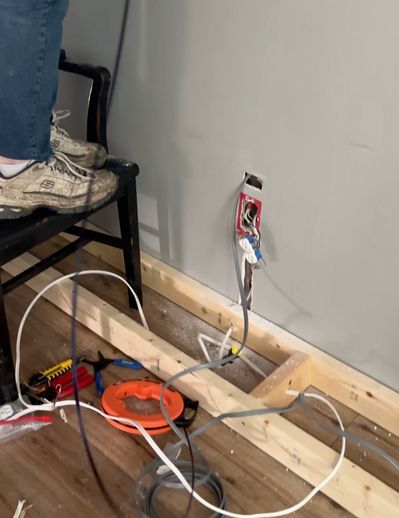
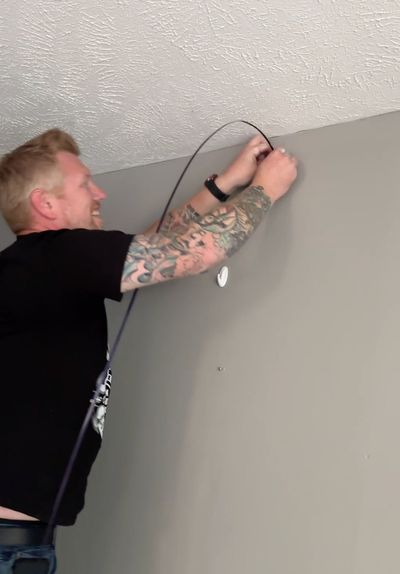
Lucky for me, my brother has some serious DIY electrical chops—and conveniently lives next door. With an existing outlet on this wall, we ran one extension down to power the shelf outlets and another up to a hidden outlet at the top for the LED strips. Simple, right? Ha. Not quite.
The wall insulation kept turning our Romex wires into tangled, stuck messes. After a bit of head-scratching (and some mild cursing), we admitted defeat and made a run to Lowe’s for a wire fishing tool. Game-changer.
|
|
|
|
Prepping the Shelves
Once the wall was ready, it was shelf-prep time:
-
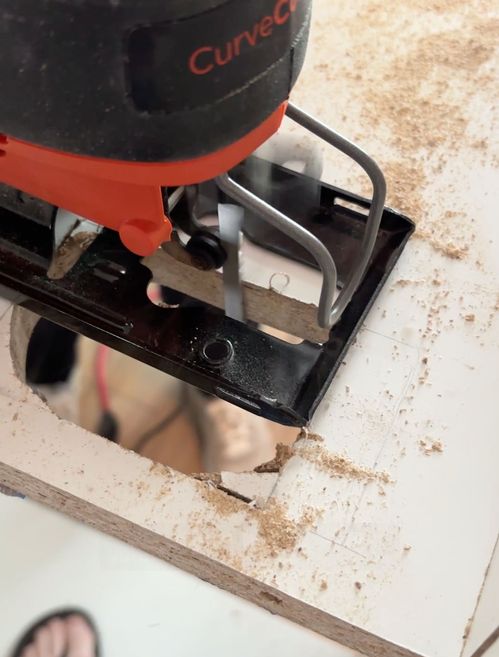
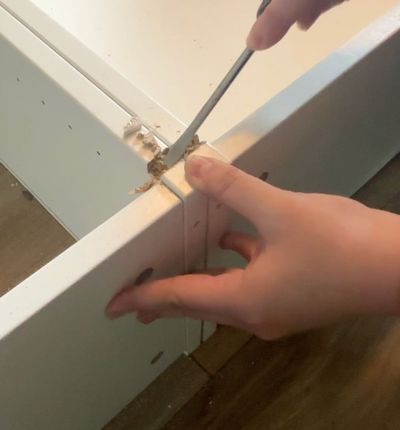
Cut holes for the outlets. We cut a hole in the back for the outlet that already existed in the wall, and then I decided to keep the outlets flat on the middle shelf (so the outlets face up instead of out). That meant a strategically cut hole in the shelf itself.
|
|
|
-
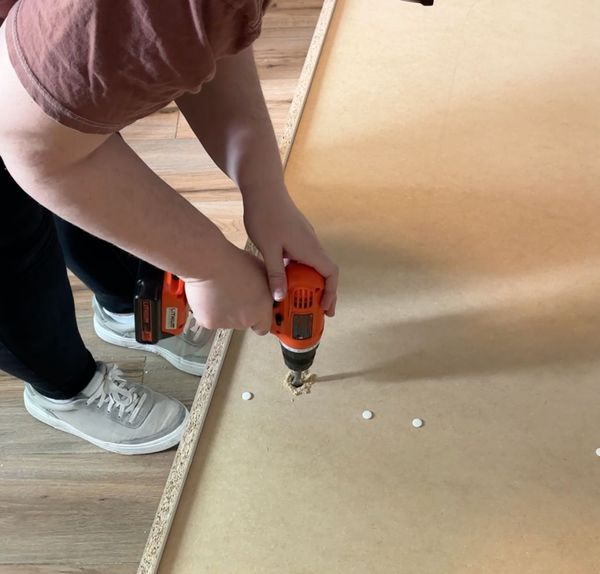
Drill wire pass-throughs in the back
-
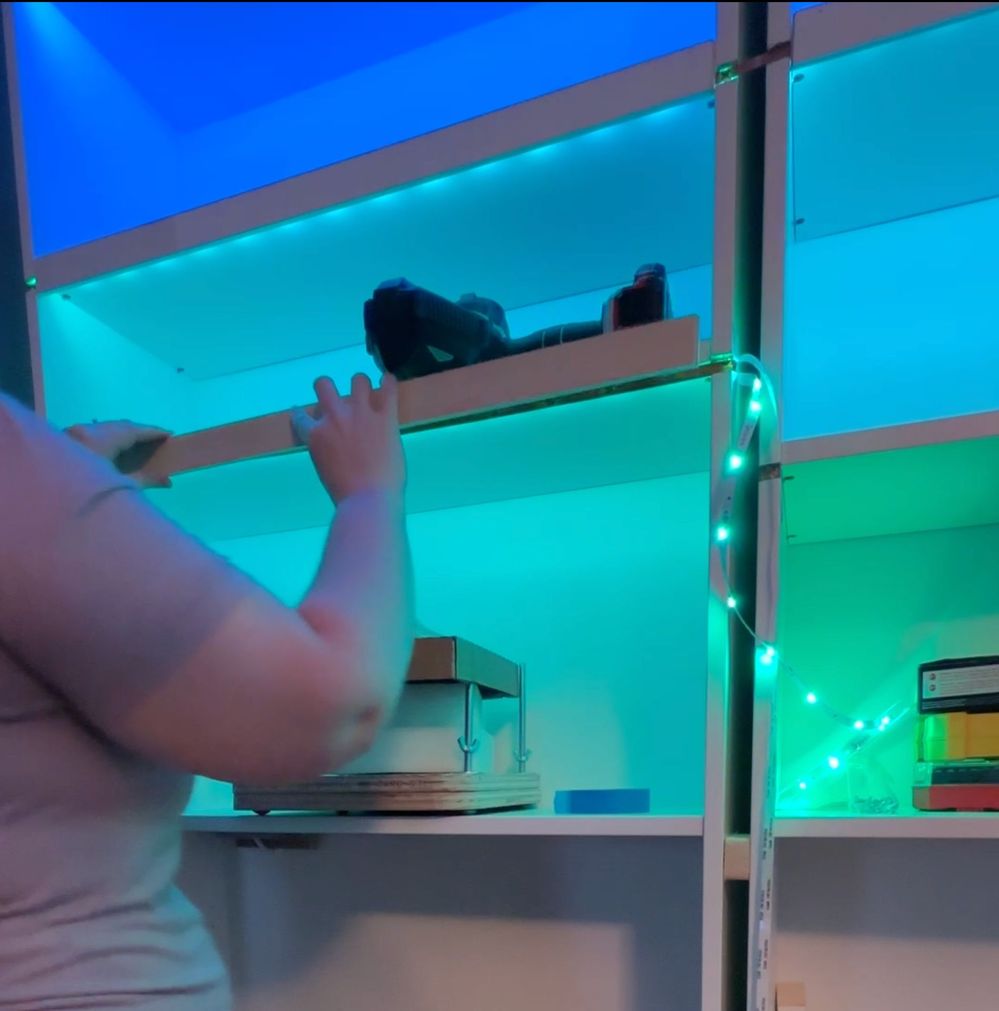
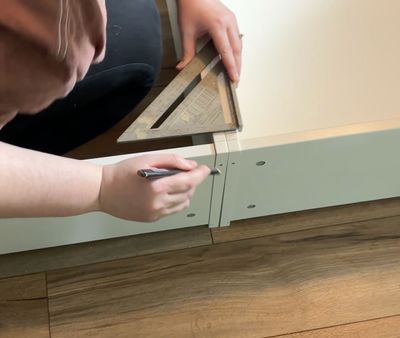
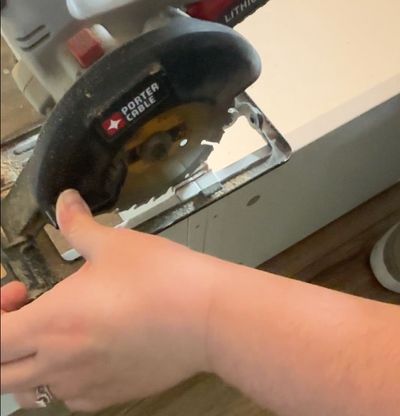
Use a circular saw to carve out a channel along the front edge for the LED strips. This channel will eventually be hidden by a thin wood strip tacked to the front of the shelves. This will make the shelves look thicker and more substantial, and will give us a place to mount the sticky back of the LED strips.
|
|
|
|
 Wiring Everything Up
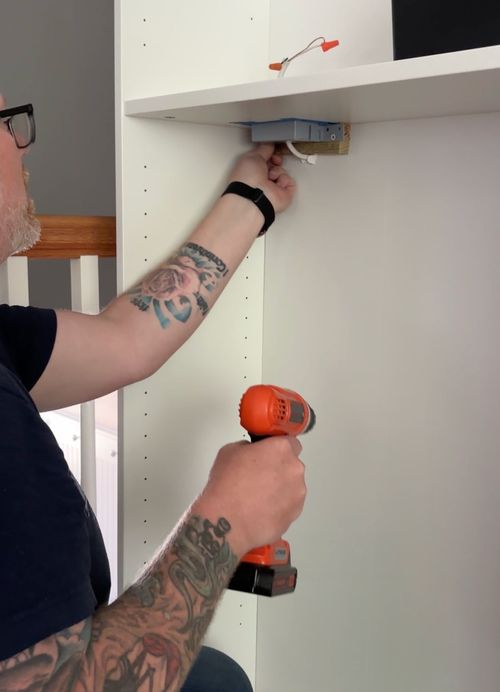
With the shelves cut and ready, we slid them back in place and my brother wired in the outlets. Each outlet got securely fastened inside the shelf, and tested to make sure everything worked after it was wired up.
Honestly, if my brother didn't have the electrical experience, I wouldn't have done any of this. Instead, I would have bought battery operated sconces and put them in between the arches. I still had planned to buy one of those outlet extenders and drill a hole into the middle shelf, but I would only have done that for the shelf closest to the wall outlet instead of two.
All of that to say, don't fret if you're thinking of trying this build yourself but don't want to tackle the electrical. There are so many ways to get around it and still make your shelves awesome!
What’s Next?
With electrical wired up, Part 4 is coming up: securing the bookshelves together, painting, and adding the front panels and trim. This is where the magic happens...it’s starting to feel real!
Stay tuned for the rest of the IKEA Billy Bookcase Hack build...and follow @shelfcaremomsclub to see all the video updates.
XOXO,
Em
